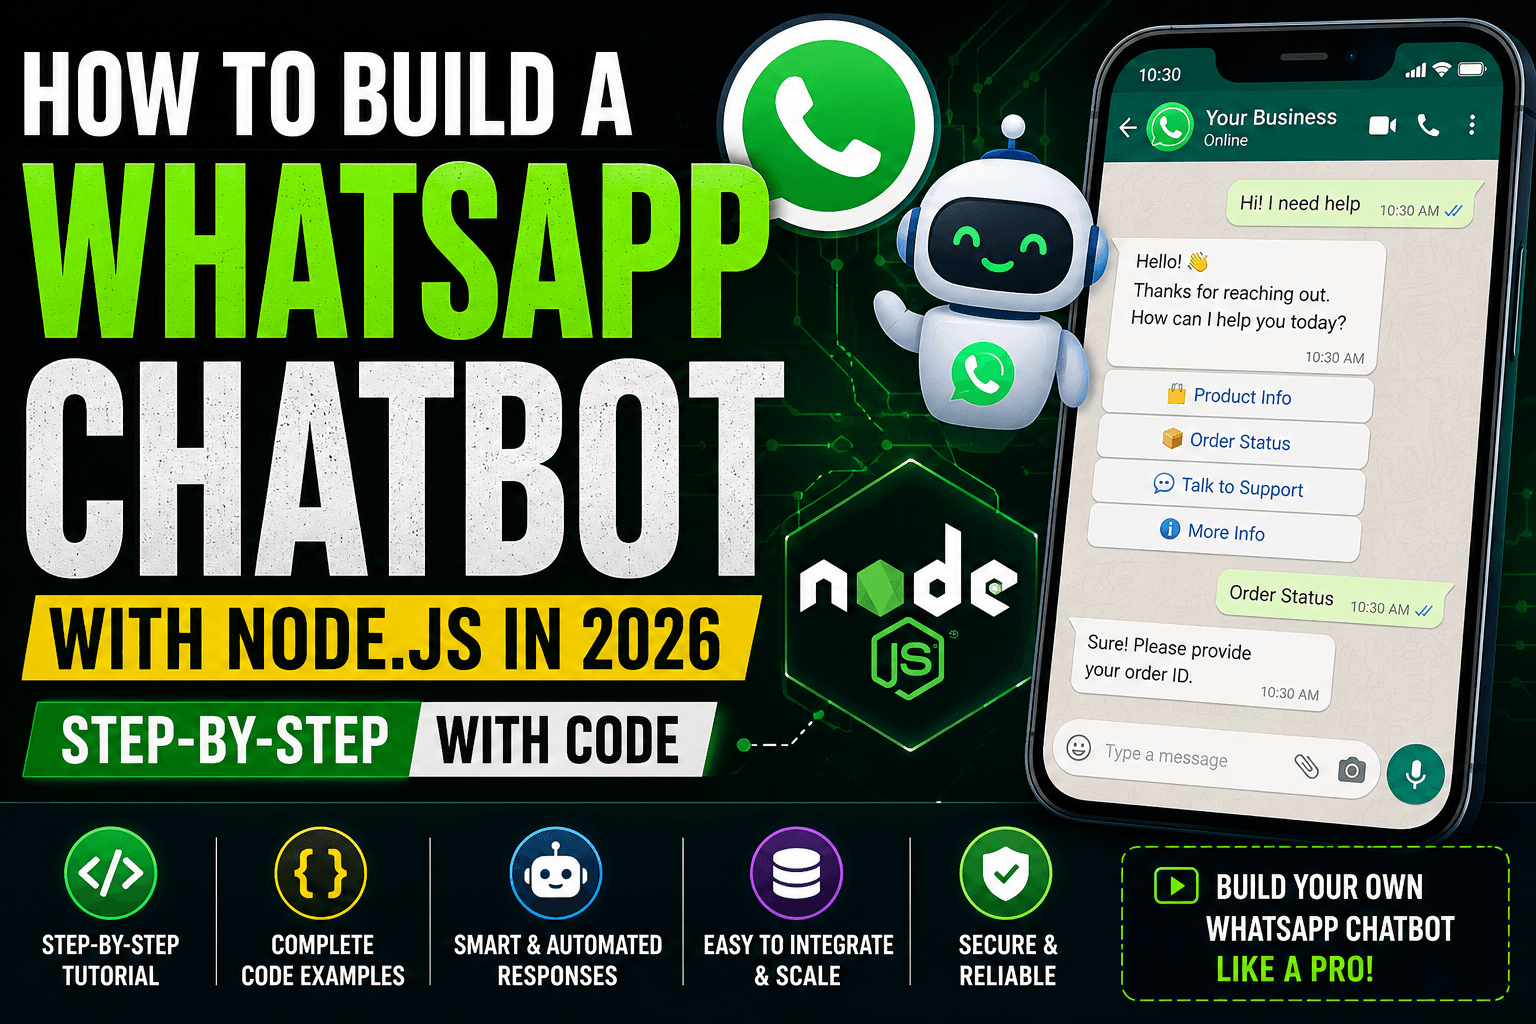
- What you'll build in this guide:
- ✓ WhatsApp Cloud API app in Meta Developer Console
- ✓ Node.js Express webhook that receives WhatsApp messages
- ✓ Message routing and reply logic
- ✓ GPT-4o integration for AI-powered responses
- ✓ Conversation context with session memory
- ✓ Production deployment on a VPS with PM2
Prerequisites
You'll need Node.js 18+, a Meta Developer account (free at developers.facebook.com), a WhatsApp Business number, and a publicly accessible server or ngrok tunnel for webhook development. Basic JavaScript knowledge is assumed.
Step 1: Set Up Meta WhatsApp Cloud API
Go to developers.facebook.com and create a new app. Select Business as the app type. Under Products, add WhatsApp. Meta will provision a test phone number and give you a temporary access token.
Note down three values — you'll need them throughout:
- Phone Number ID — identifies your WhatsApp sender number
- WhatsApp Business Account ID — your WABA identifier
- Temporary Access Token — rotate this with a permanent token before going to production
Step 2: Initialize Your Node.js Project
mkdir whatsapp-bot && cd whatsapp-bot
npm init -y
npm install express axios dotenv openai
Create a .env file:
VERIFY_TOKEN=your_custom_verify_token
WHATSAPP_TOKEN=your_meta_access_token
PHONE_NUMBER_ID=your_phone_number_id
OPENAI_API_KEY=your_openai_key
PORT=3000
Step 3: Build the Webhook Server
WhatsApp delivers messages to your server via HTTP POST. Meta first verifies your webhook with a GET request — you must respond correctly or the webhook won't activate.
// index.js
require('dotenv').config()
const express = require('express')
const { handleMessage } = require('./handler')

const app = express()
app.use(express.json())

// Webhook verification
app.get('/webhook', (req, res) => {
  const mode = req.query['hub.mode']
  const token = req.query['hub.verify_token']
  const challenge = req.query['hub.challenge']
  if (mode === 'subscribe' && token === process.env.VERIFY_TOKEN) {
    return res.status(200).send(challenge)
  }
  res.sendStatus(403)
})

// Incoming messages
app.post('/webhook', async (req, res) => {
  res.sendStatus(200) // Acknowledge immediately
  const entry = req.body?.entry?.[0]
  const changes = entry?.changes?.[0]?.value
  const messages = changes?.messages
  if (messages?.length) {
    await handleMessage(messages[0], changes.metadata.phone_number_id)
  }
})

app.listen(process.env.PORT, () =>
  console.log(`Webhook running on port ${process.env.PORT}`)
)
Step 4: Handle Incoming Messages
Create handler.js to parse the message and route it to your reply logic:
// handler.js
const axios = require('axios')

const sessions = {} // In-memory session store

async function handleMessage(message, phoneNumberId) {
  const from = message.from
  const text = message.text?.body
  if (!text) return // Ignore non-text messages for now

  const reply = await generateReply(from, text)
  await sendMessage(phoneNumberId, from, reply)
}

async function sendMessage(phoneNumberId, to, text) {
  await axios.post(
    `https://graph.facebook.com/v19.0/${phoneNumberId}/messages`,
    {
      messaging_product: 'whatsapp',
      to,
      type: 'text',
      text: { body: text },
    },
    { headers: { Authorization: `Bearer ${process.env.WHATSAPP_TOKEN}` } }
  )
}

module.exports = { handleMessage }
Step 5: Add GPT-4o for AI Responses
Replace the generateReply stub with a real OpenAI call. Store conversation history per user so GPT has context across multiple messages:
const OpenAI = require('openai')
const client = new OpenAI({ apiKey: process.env.OPENAI_API_KEY })

async function generateReply(userId, userMessage) {
  if (!sessions[userId]) {
    sessions[userId] = [
      { role: 'system', content: 'You are a helpful assistant for Acme Agency. Keep replies concise and friendly.' }
    ]
  }
  sessions[userId].push({ role: 'user', content: userMessage })

  const response = await client.chat.completions.create({
    model: 'gpt-4o',
    messages: sessions[userId],
    max_tokens: 300,
  })

  const reply = response.choices[0].message.content
  sessions[userId].push({ role: 'assistant', content: reply })

  // Trim history to last 10 messages to control token cost
  if (sessions[userId].length > 11) {
    sessions[userId] = [sessions[userId][0], ...sessions[userId].slice(-10)]
  }

  return reply
}
This gives your WhatsApp bot conversation memory — GPT sees the last 10 messages of each user's conversation so replies are contextually relevant, not isolated responses.
Step 6: Register Your Webhook with Meta
For local development, use ngrok to expose your local server:
ngrok http 3000
Copy the HTTPS URL (e.g. https://abc123.ngrok.io). In your Meta Developer Console, go to WhatsApp → Configuration → Webhook. Enter:
- Callback URL:
https://abc123.ngrok.io/webhook - Verify Token: the value from your
.env
Click Verify and Save. Subscribe to the messages webhook field. Send a WhatsApp message to your test number — you should see it hit your Node.js server within seconds.
Step 7: Add a Keyword Menu (Optional)
For support or lead-gen bots, a keyword router before the GPT fallback improves UX and reduces OpenAI costs:
async function generateReply(userId, userMessage) {
  const msg = userMessage.toLowerCase().trim()

  if (msg === 'pricing' || msg === 'price') {
    return 'Our projects start from $500 USD. Reply with your project details for a free quote.'
  }
  if (msg === 'hi' || msg === 'hello' || msg === 'hey') {
    return 'Hi! I am the Websicon assistant. Ask me anything or type PRICING, SERVICES, or CONTACT.'
  }

  // Fall through to GPT for everything else
  return await askGPT(userId, userMessage)
}
Step 8: Deploy to Production
Deploy to a VPS (Hetzner, DigitalOcean, or AWS Lightsail work well). Install PM2 to keep the process alive:
npm install -g pm2
pm2 start index.js --name whatsapp-bot
pm2 save
pm2 startup
Use Nginx as a reverse proxy so your bot runs on port 80/443 with SSL (required by Meta for production webhooks). Replace your temporary Meta access token with a permanent System User token via Meta Business Manager before going live.
Production Checklist
- Permanent System User access token (not the temporary developer token)
- SSL certificate on your webhook URL (Let's Encrypt via Certbot)
- Meta Business Verification completed for sending to non-test numbers
- Message template approval for business-initiated conversations
- Rate limiting on your webhook endpoint to prevent abuse
- Persistent session storage (Redis or database) instead of in-memory sessions
- Error handling and logging (Winston or Pino recommended)
Going Further
Once your basic WhatsApp bot is live, common next steps include: connecting it to your CRM to log conversations as leads, adding voice message transcription with OpenAI Whisper, building a handoff flow that escalates to a human agent, and integrating payment links for e-commerce confirmation flows.
For CRM-connected WhatsApp bots specifically, Websicon's chatbot development service covers the full integration stack — WhatsApp API, CRM sync, AI responses, and lead capture.
Need a WhatsApp chatbot built for your business?
Websicon builds production-ready WhatsApp chatbots with AI, CRM integration, and lead capture — serving US and UK clients. Projects from $500 USD · Free scoping call.
Get a free chatbot quote →Questions about the build? Reach out to Websicon — our Node.js and WhatsApp API team can advise on architecture, GPT integration costs, and Meta verification for your specific use case.
Ready to get started?
Let Websicon build your perfect CRM solution
Free consultation · Projects from $500 USD · No long-term contracts · EST/PST/GMT timezone support
Get Free Consultation